METAL BRINGER:GUIDE Until Clearing The Story
Arms Didn’t Turn Out as Usable as I Expected
I apologize if some parts feel unnatural, as I am translating from Japanese.
Go to the METAL BRINGER:GUIDE Ace Pilot page
Here’s a guide for Metal Bringer’s story progression. To reach the final boss “Shiva,” you’ll need to clear four stages. Additionally, to unlock the true ending, you must complete the game twice.
I wanted to beat the game with Arms, but the difficulty in the second playthrough was a bit too high for me, so I couldn’t manage it. It’s quite unfortunate.
First Playthrough
As you progress through the stages, the enemies become stronger. The difficulty spikes significantly starting from the third stage. A large number of enemy Arms appear, and the movements of the Labors that emerge from escaping them are so swift that it becomes difficult to land hits, making the fight challenging.
Since this is my first playthrough, I’ll focus on clearing the game with Arms. Ultimately, the Labors proved to be stronger, but I was able to clear it with Arms, so I’m sharing my strategy. If this doesn’t work, feel free to refer to the Labor strategy as well.
Recommended Arms
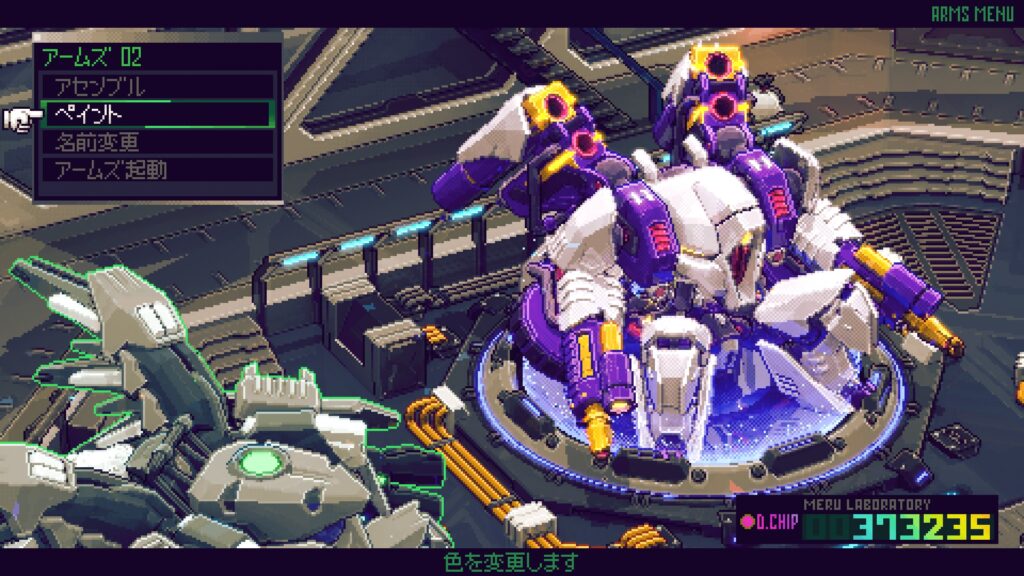
- HEAD GEAR
- HG-AS22B
- RIDE GEAR
- LG-4WSH
- WEAPON 1&2
- ALG-M-2k
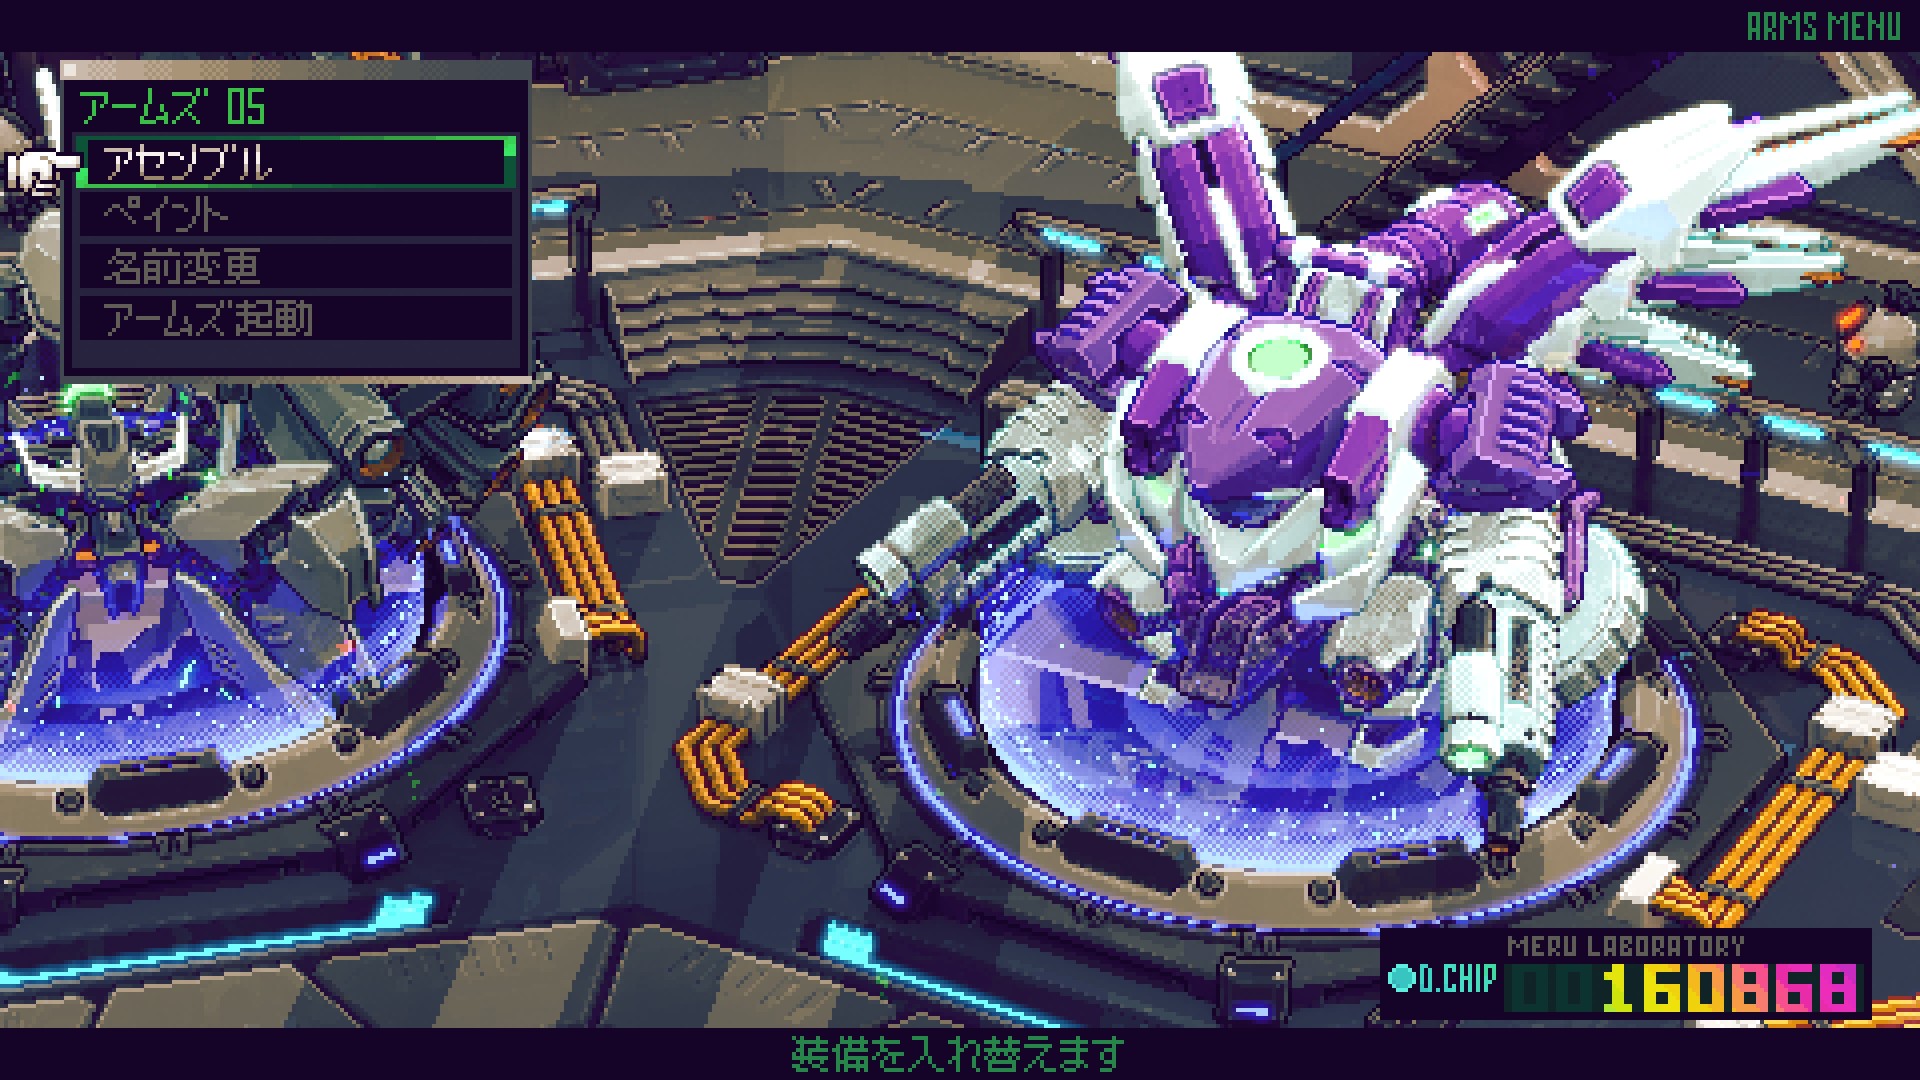
This type of Arms has a weapon built into the body, and by pressing the R2 button, you can fire a Solid Shooter, a projectile weapon. It became available in the third stage.
As you progress through the levels, you tend to get Arms with better performance, so it requires some money to try them out. However, there might be one that suits you better.
This isn’t specific to this Arms, but in general, the basic weapons like machine guns or shotguns are quite easy to use. If you equip the same weapon on both hands, you can attack with dual guns, which makes it easier by holding down the button. However, the attack power is halved, so you’ll need to compensate for that with an APP.
Recommended APPs
These aren’t all essential, but I’ll introduce the ones that I personally found helpful based on my experience.
- Labor Repair
- Heals gradually when no enemies are nearby. Essential since it keeps firing even in the overheat state.
- Arms Repair
- Similar to Labor repair. If you’re trying to save on repair costs, this is the way to go, but it takes a long time.
- Decisiveness
- Critical hits heal your Labor when attacking enemies with Shield Break status.
- Regeneration
- Restores your Labor’s health based on the number of combos performed.
- Solid&Beam Resistance
- Becomes very important from the 3rd stage onwards.
- Adamant
- Has a chance to reduce damage to 1.
- Heat Wall
- Reduces damage when overheating.
- Burn Resistance
- Reduces slip damage from overheating.
- Speedwalking
- Increases walking speed.
- Lower Air Resistance
- Increases movement speed.
- Enhanced Beam Shots
- Increases damage from beam weapons.
- Extend Bullet Flight
- Increases the range of projectiles.
- Fast Bullets
- Makes bullets travel faster.
- Dual Gun Mastery
- Increases damage when using dual weapons.
- Tunnelling Effect
- Beam bullets can pass through walls.
- Weakness Exploit
- Has a chance to land a critical hit on attacks.
- Two Birds
- Targets different enemies when using dual weapons.
- Sitvation Analysis
- Always shows enemies in the detection range.
Other than that, Energy Recharge-type and Rice Ball-type items are also really useful!
Guide to Clear
After defeating the rival in stage 4, you will proceed through the hatch and face one of the three elite Gigant Arms in battle. They are all strong, but personally, I find DURGA to be the toughest.
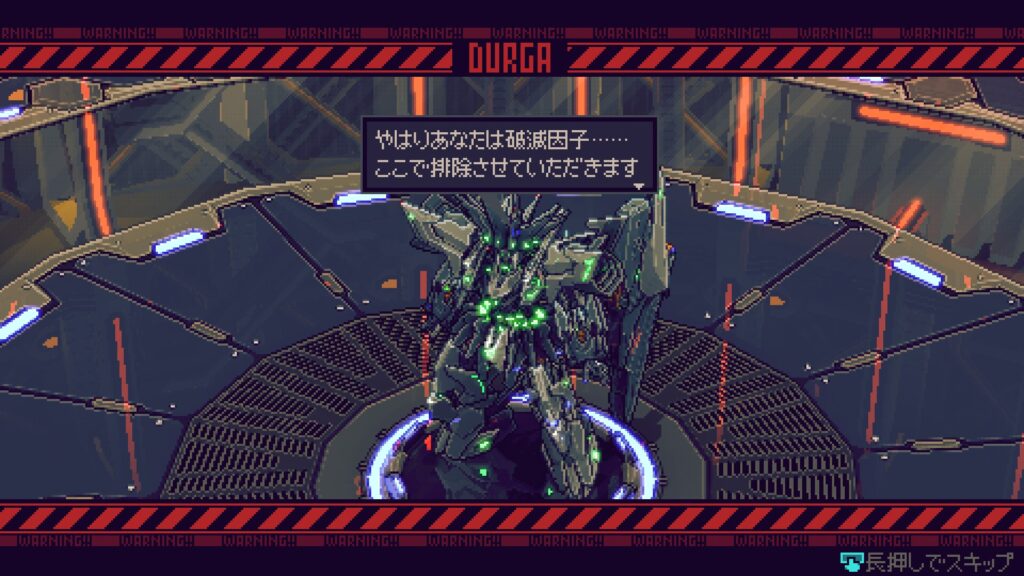
I found that machine guns and shotguns didn’t hit DURGA at all, so I think they’re not a good match for this battle. The other two rivals leave a small opening after their attacks, so you can target that moment. First, observe their movements carefully.
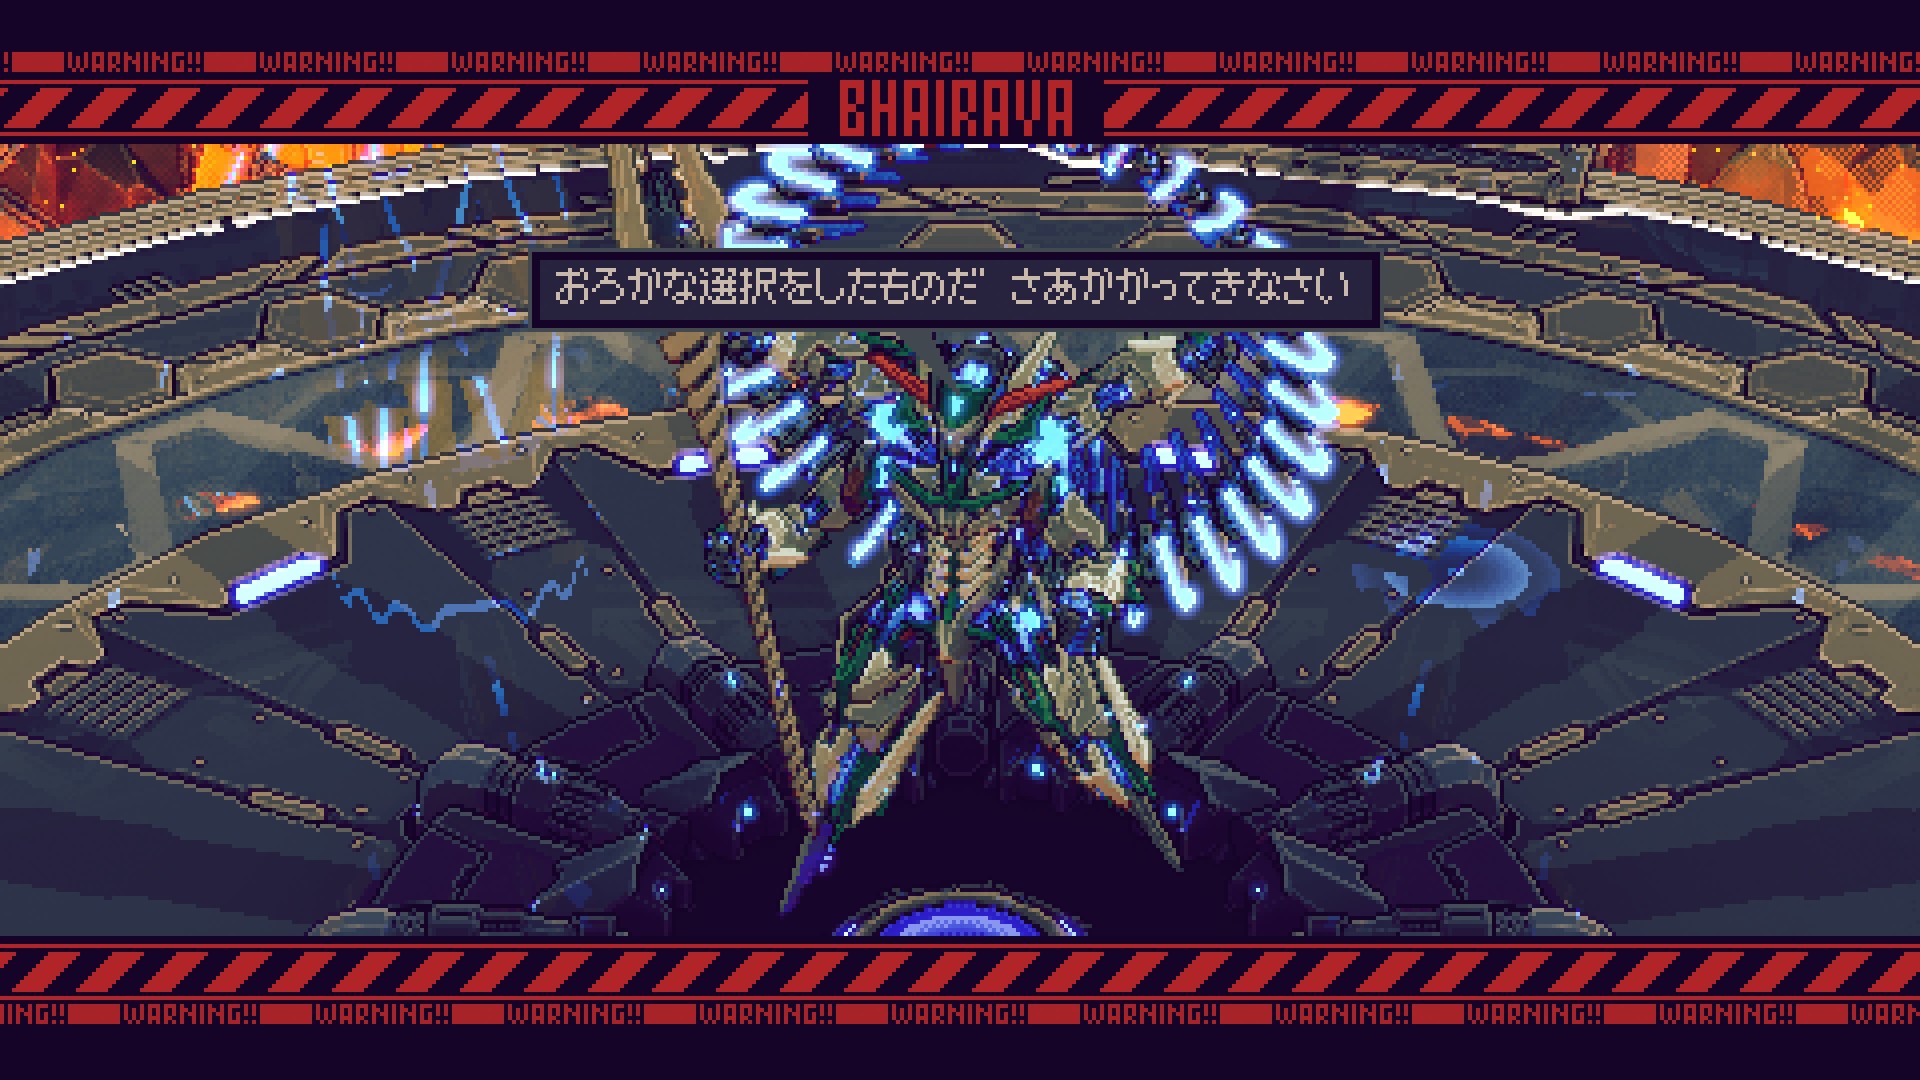
Once you get past this, you’ll finally face Shiva. The battle will take place, but don’t worry—she’s weak in the first playthrough.
Second playthrough
The enemies are a bit stronger than in the first playthrough. Since stronger Arms also appear from the first layer, if you’re focusing on collecting Arms parts, it might be better to do that in the second playthrough.
The rival machines guarding the hatch have leveled up and become much more formidable. If you approach it with the same mindset as the first playthrough, you might end up being overwhelmed.
I died too many times with Arms, so I decided to try clearing it with Labor. And it turned out to be incredibly strong.
Recommended Equipment
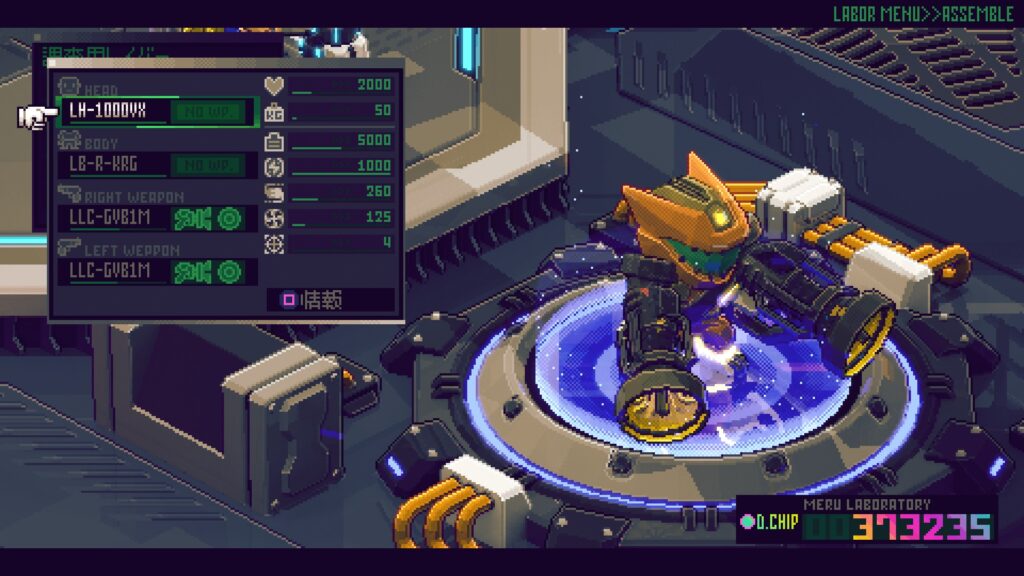
HEAD and BODY are up to you.
- Two-handed weapon
- LLC-GVB1M
It’s a gravity cannon. I’m not sure where I got it, but I obtained it while playing normally, so I think searching for books would be a good idea. The APP “Curiosity” will make book items appear on the map, so try using that to search for it.
Recommended APPs
Here are the recommended apps for Labor in addition to the first playthrough.
- Revved Up
- It constantly gathers energy in proportion to the combo count.
- Change of Heart
- It gathers energy on critical hits.
- Aerial Step&Jump
- It allows you to perform steps and jumps in mid-air.
- Tenacious Step&Jump
- You will no longer flinch during steps or jumps.
- Quick Reload
- The firing interval becomes shorter.
- Aerial Shot
- You will be able to shoot while hovering.
- Enhanced Suction
- The projectile’s suction power increases.
- Splurge
- The damage increases proportionally to the amount of money you have.
- Money Talks
- The damage taken is reduced in proportion to the amount of money you have.
I think “Splurge” and “Money Talks” are particularly effective. Since the effects of the APPs you pick up along the way also come into play, the exact effects aren’t entirely clear, but gathering 200,000 D.CHIP by the end makes things much easier.
The Gravity Cannon can freeze enemy movements, so even fast enemies like Labors can be easily dealt with. Once you get the hang of it, you’ll find that enemies are easily destroyed. Some of the APPs you find along the way may reduce your Labor’s maximum HP, so if you don’t need them, you can sell them.
Withdrawing D.CHIP from the terminal early on is also effective.
Guide to Clear
In the area of stage 4, multiple Gigant Arms will appear, making it an ideal spot for farming money.
After opening the hatch in stage 4, you’ll face a series of battles against the three elite Gigant Arms. If you’ve mastered using Labor, you should be able to handle them without issue.
Finally, you’ll battle the last boss. Since it moves around a lot, it might turn into a bit of a long battle. If you enhance your jump count, it will make climbing back up easier if you fall.
Related Videos (in Japanese & Spoiler Alert)
Can it be cleared in 10 minutes?
Defeating it will unlock the true ending. If you’re curious, be sure to see it for yourself! See you next time!

