Kamaeru: A Frog Refuge strategy
しらなみ
Shiranami Gamer
I apologize if some parts feel unnatural, as I am translating from Japanese.
Go to the Die in the Dungeon Guide:How to Progress Through Normal Stages page
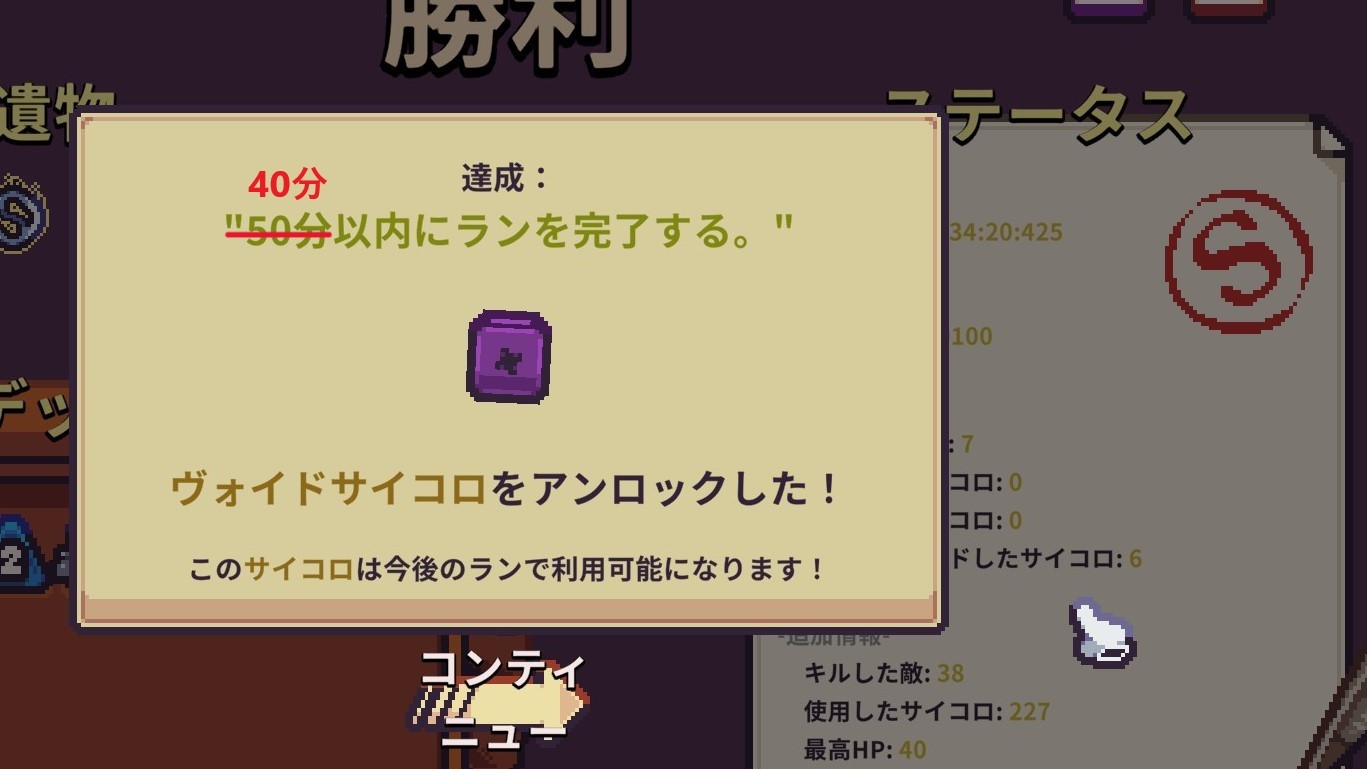
This is a guide for the final achievement in Die in the Dungeon, “Speedhopper”.
To be honest, I had no idea how to do it, so I used a method that was taught to me by overseas players. …Even then, it didn’t go smoothly, and I had to retry many times.
If you know an easier method, please let me know! Since it’s still in early access, the difficulty might also be adjusted in the future.
The difficulty is, of course, D0. We’ll use MANGO as our character. For the starting item, equip TUNGSTEN HAND, which allows you to freely move locked dice.
At first, I thought this item wouldn’t be very useful, but that wasn’t the case at all.
We won’t discard any dice and will keep all of them. MANGO starts with HEAVY PROPERTY on both attack and defense dice, so we’ll take advantage of this.
In Stage 1, make sure to get FLASH at all costs and attach it to a HEAVY ATTACK DICE. You can obtain FLASH from the item shop or events.
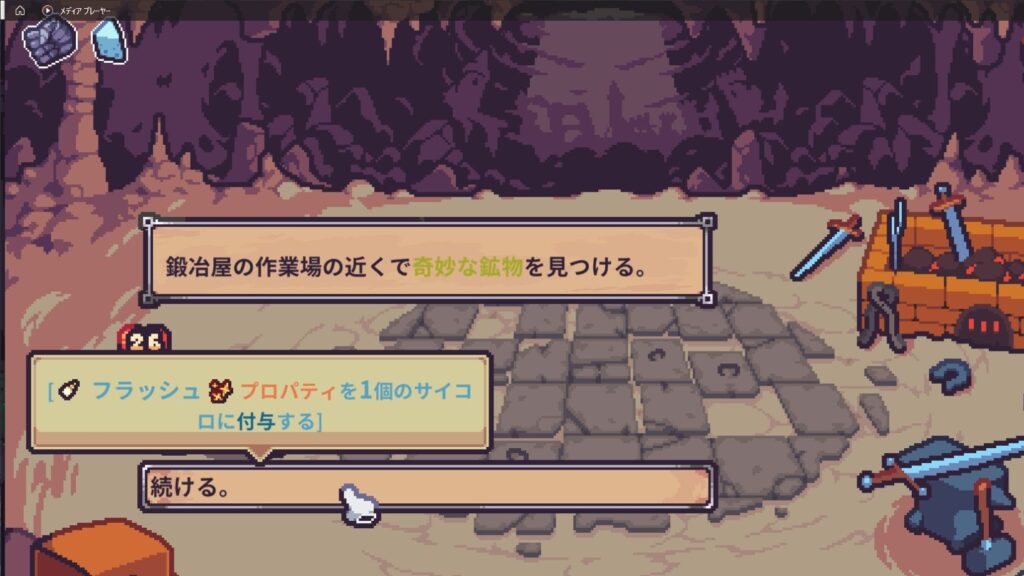
If you attach FLASH PROPERTY to a die with HEAVY PROPERTY, it won’t disappear and will stay on the board. This means its effect will activate as many times as its face value, making it incredibly powerful.
If possible, apply the same strategy to BOOST DICE and BLOCK DICE as well.
You might be thinking, “What is this guy talking about?”—but trust me, you’ll understand once you try it.
Here’s the final build that cleared the run.
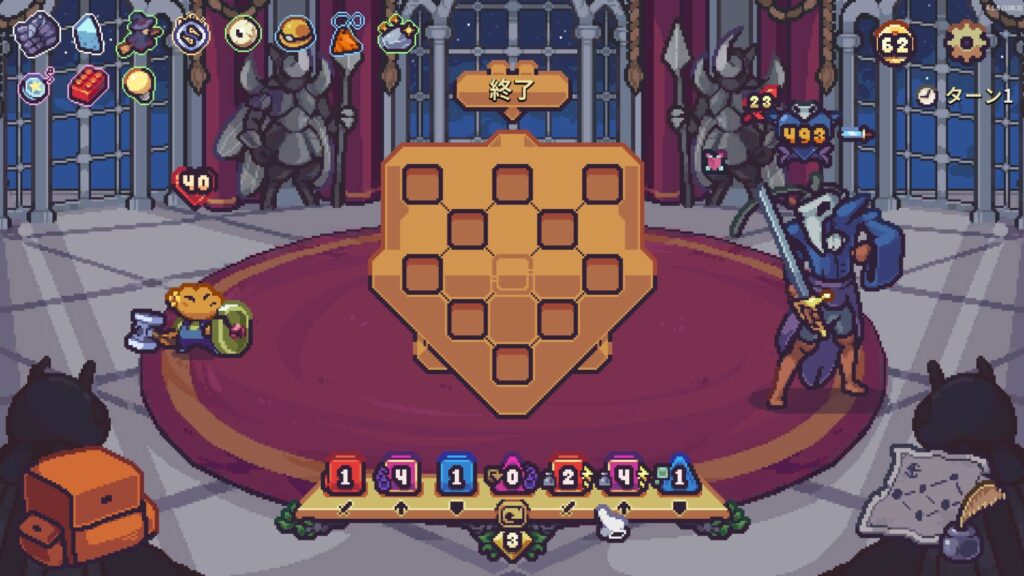
I have seven dice in total, with HEAVY & FLASH equipped on both ATTACK DICE and BOOST DICE. Unfortunately, the BLOCK DICE got ruined by an event along the way. But in the end, it turned out that having it on BOOST DICE was the better choice.
One important thing to note: BOOST DICE becomes unusable if it reaches 6, as it will try to boost a tile six spaces ahead, which won’t work. Be sure to stop at 4.
The relics you can use will change depending on the situation.
BLINDING LIGHTBULB – Deals 2 damage to all enemies each time FLASH is activated. This relic is essential for achievement challenges.
PORCELAIN WITCH – Increases the number of coins earned from defeated enemies by +1. While going through unavoidable battles, you’ll accumulate coins without realizing it, making it quite useful.
PROVIDENTIAL VIAL – The number rolled on the first turn becomes the maximum value for that die. It’s powerful when you set the 1 face of the attack die to its maximum number.
MOON CHAKRAM – Increases the maximum hand size by 1 and deals damage to enemies equal to the number of cards drawn each turn. It’s a very convenient relic, but you’ll need to clear D4 to obtain it.
I heard this later, but it seems that increasing the game speed in the settings has the biggest effect. Maybe give it a try?
Naturally, avoiding combat will save time, but it also means you remain weak, so finding the right balance is tricky. As a general guideline, if you don’t obtain FLASH in Area 1, there’s a high chance you won’t make it in time, so in that case, it’s better to restart from the beginning.
Also, make sure to check the randomly generated Stage 1 map early on. If there’s a route with four or more consecutive battles, restart the run.
After retrying multiple times, I was able to clear it in the 34-minute range. The key points are to equip FLASH on your ATTACK DICE as quickly as possible and to obtain the BLINDING LIGHTBULB relic. I hope this guide was helpful, even if just a little! See you next time!


このコンビに地形(テレーン)とミラーサイコロを使うと、もっと早くできます。
おぉそうなんですね!地形は組み合わせたら強いでしょうねぇ。
またやってみます、情報ありがとうございます!!